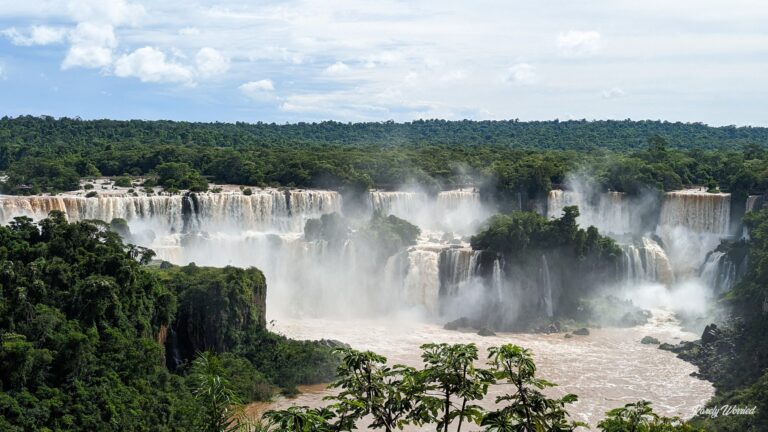
One Unforgettable Week in Patagonia: The Ultimate Guide
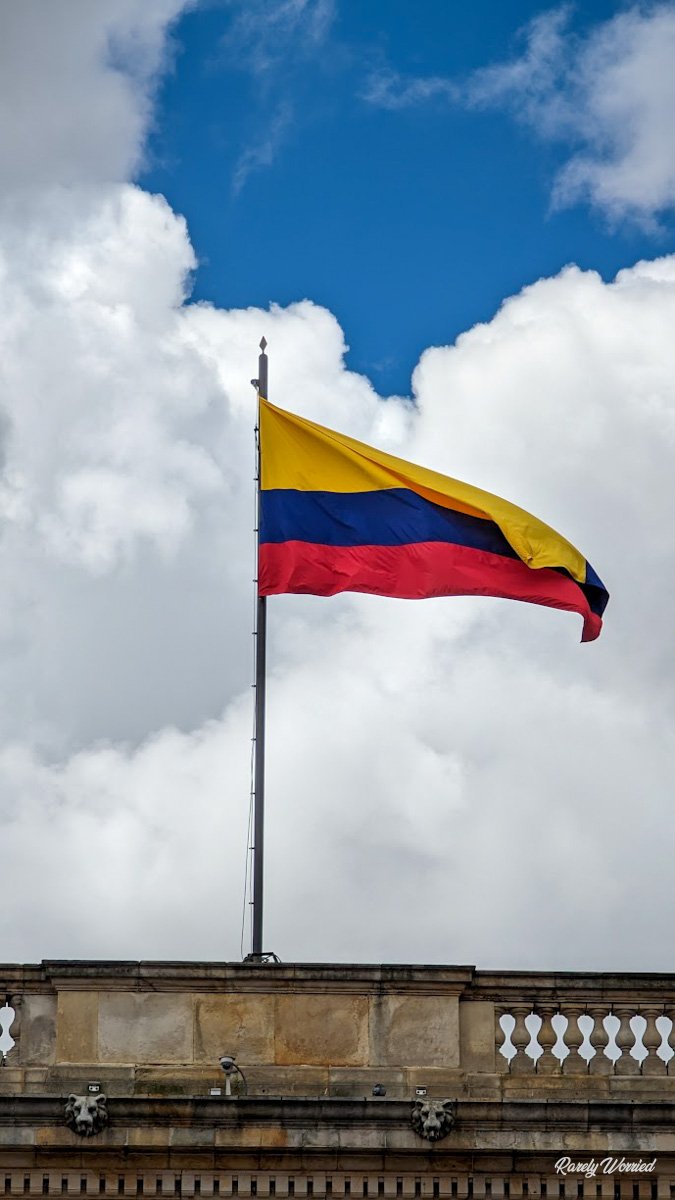
Patagonia is a vast region spanning the southern parts of Argentina and Chile. It is a land of mesmerizing beauty and diverse wildlife, like guanacos, pumas, and Andean condors, which roam freely. The geography of Patagonia is characterized by the towering Andes Mountains in the west, with snow-capped peaks and majestic glaciers that carve their way through deep valleys, while the eastern side showcases the windswept Patagonian steppe, a vast expanse of grasslands and shrublands stretching as far as the eye can see. It’s a land of extremes, with the southernmost tip, Cape Horn, battling fierce winds and turbulent seas.
Patagonia’s climate is characterized by its unpredictability. The region experiences strong winds, especially in the spring and summer, which can reach intense speeds. Summers are relatively mild, with temperatures ranging from cool to warm, while winters can be harsh and cold, with temperatures dropping below freezing. Rainfall is generally low, creating a semi-arid climate in many areas.
Patagonia’s blend of captivating scenery, diverse geography, and wildlife make it a truly extraordinary place to explore. Although you could spend weeks or even months there, I’ve outlined an example of what one somewhat rushed week looks like. Please note before you continue that compared to the rest of Argentina, Patagonia is not cheap, and it is much more expensive than any other national park I’ve been to anywhere else in the world. If you are trying to experience Patagonia cheaply, this is about as cheap as it’s gonna get. For the remainder of this itinerary I will assume you have a vehicle to keep your belongings safe, but if not then add on some extra time to drop off your bags at your accommodations. I’ll also include the bus alternatives.
Day 1 – Flight to El Calafate and Perrito Moreno
Fortunately most of the flights arrive very early in the morning. Booking things in Argentina is difficult because if you reserve a rental car, bus ticket, or accomodation online, then you are paying the tourist exchange rate which is double that of the rate you pay with cash you get from Western Union. There are many car rental agencies but the cars book fast so this is a risk you’ll have to take. For us there was one car available in the whole airport and we got the last one at the Localeza. Because there were 3 of us traveling together it made more sense to rent a car for the week. It made it easier for us to store our belongings safely during hikes also, and since gas prices in Argentina were cheap, it was definitely worth it. But if you’re traveling solo or don’t know how to drive or prefer not to rent one, then the busses are fairly cheap and reliable.
Important Note: If you plan on renting a car and driving into Chile then you need to pay an additional fee for a documentation for the vehicle that allows you to depart and enter the country. It’s sort of like a passport and actually received stamps entering and exiting the country.
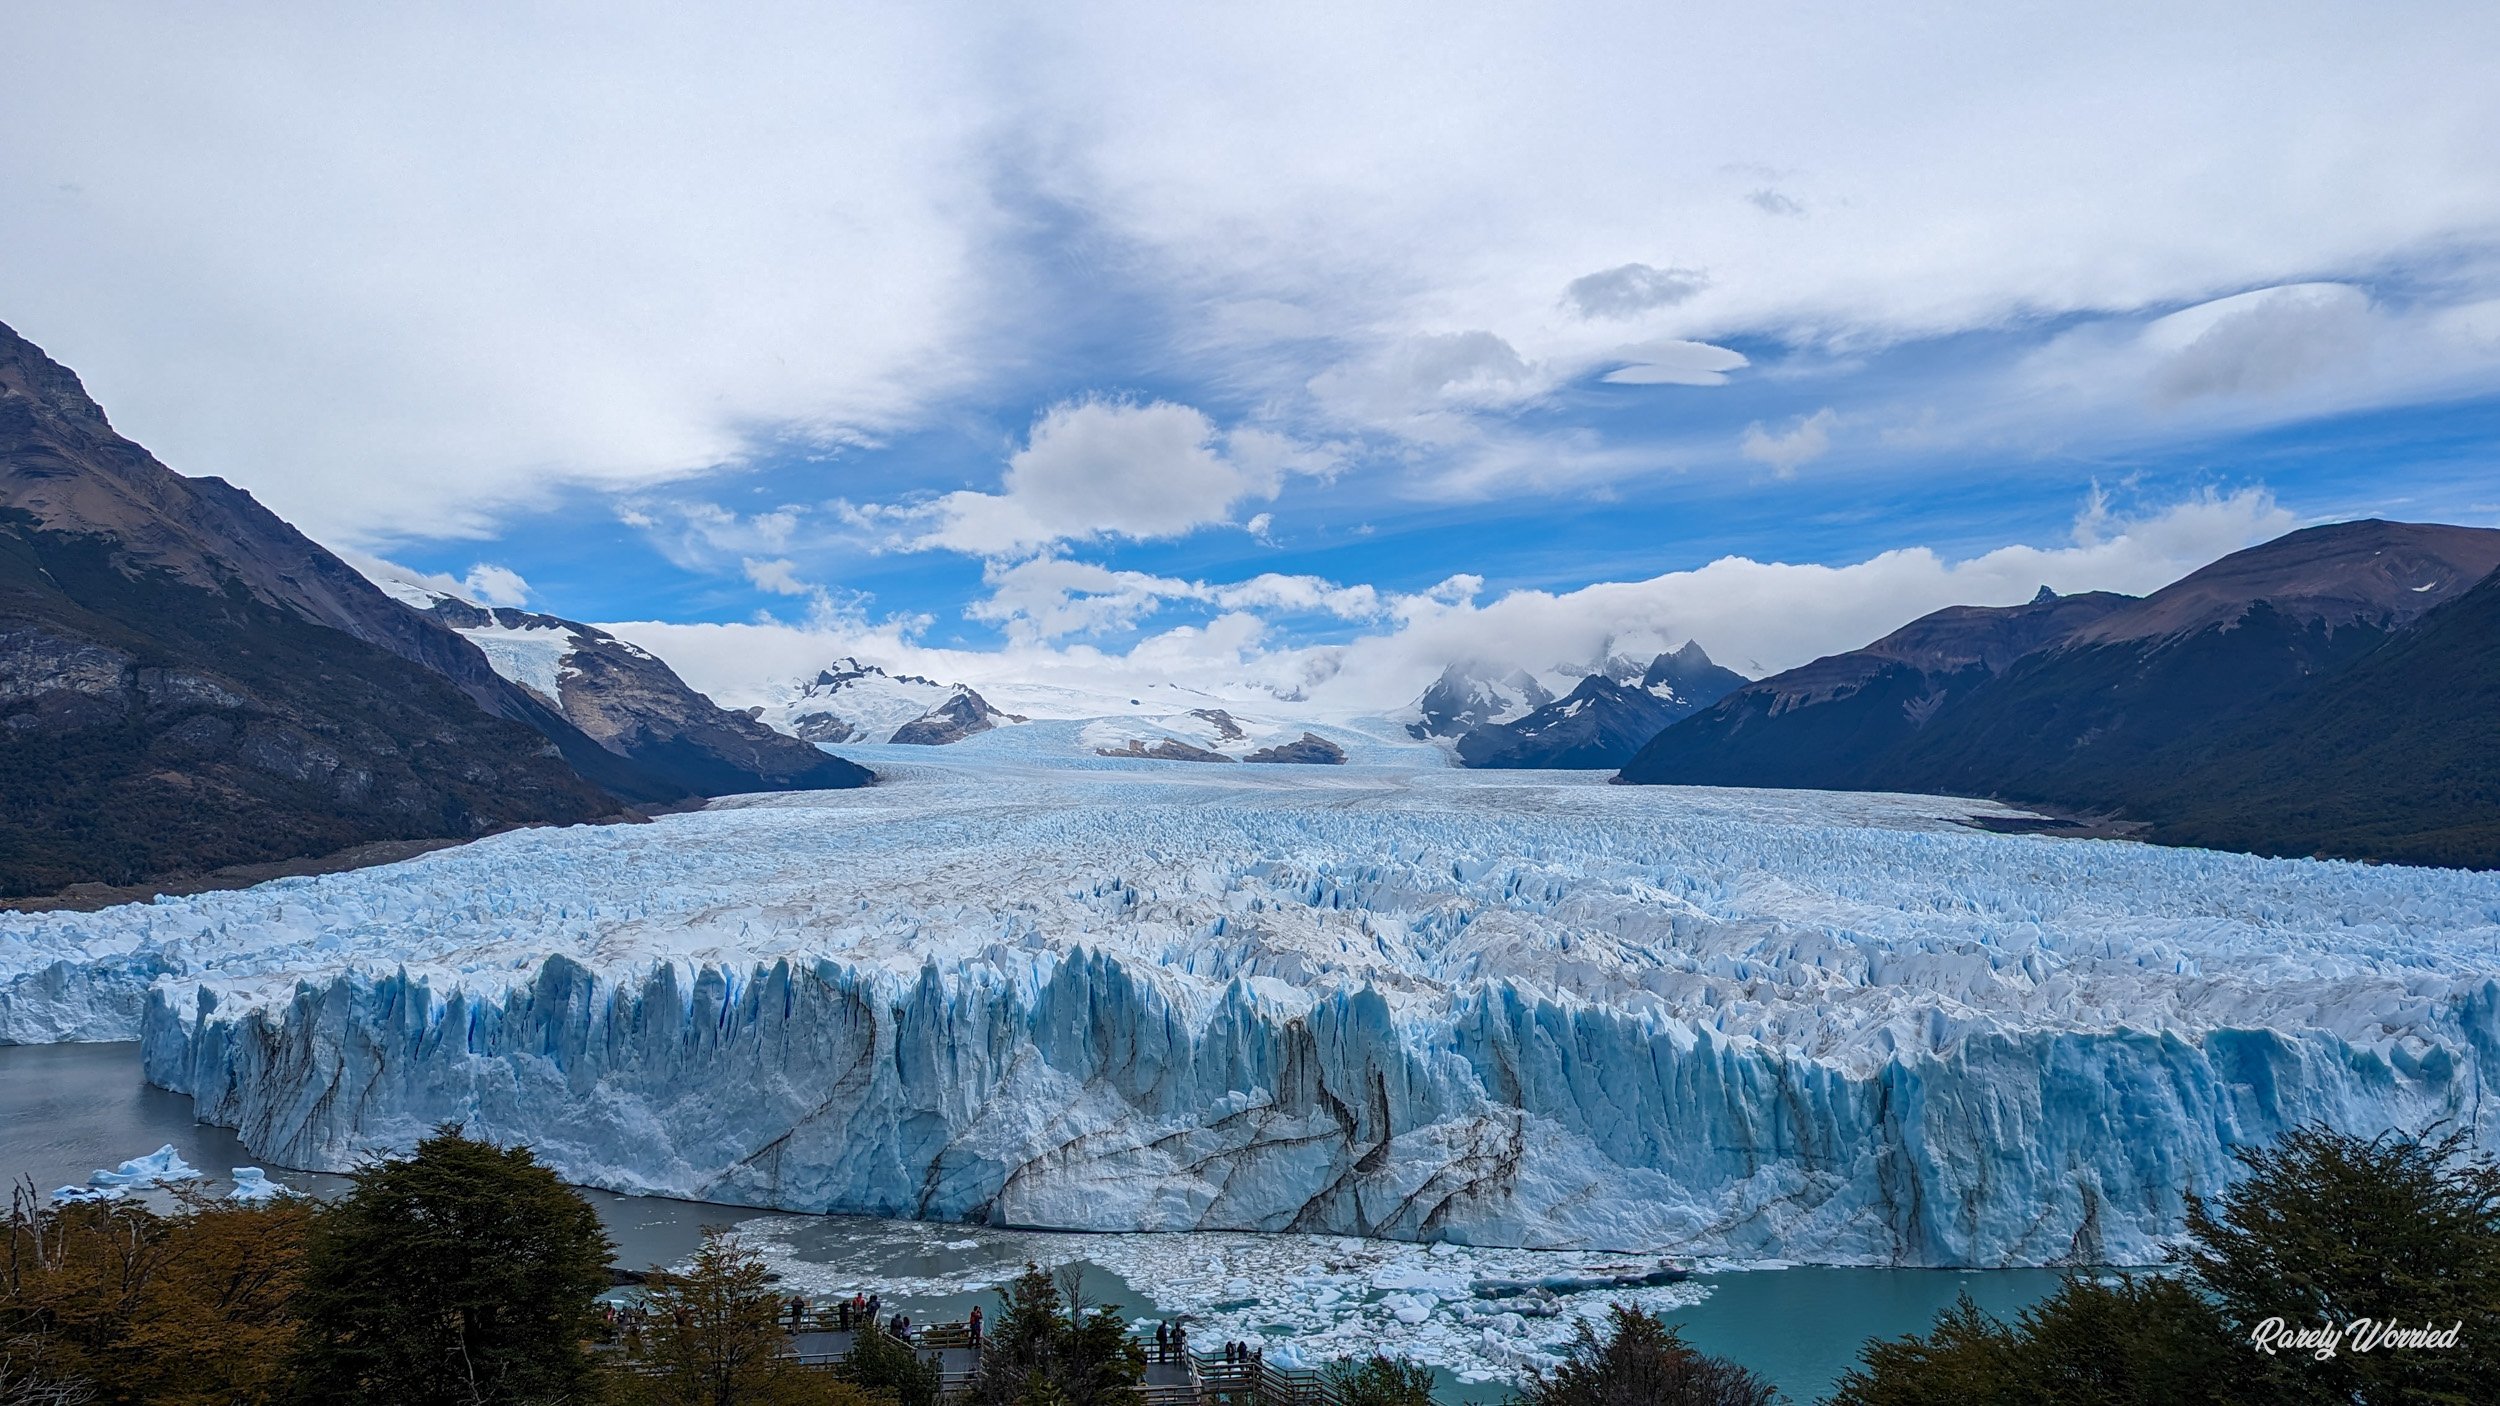
Since you’ve arrived so early, you can stop for breakfast or lunch somewhere in town and head directly to Perrito Moreno Glacier. The drive is very beautiful and only takes about an hour. The Perrito Moreno Glacier is one of the most famous landmarks in Patagonia. You can hike on the glacier or take a boat tour to see it up close. My only grife with Perrito Moreno is that it is very very commercialized. There are only 2 tour companies that operate tours of the glacier itself and because of this lack of competition, the prices are astronomically high, and this is after the almost $25USD entry fee to the park for one day. For this reason I opted out of the tour, and did not go onto the ice itself.


There is Big Ice, and MiniTrekking.
After your day spent at the glacier you’re going to be hungry. The rumors you hear about Patagonian lamb are true, and it’s a must-visit for an authentic Parrilla.
After dinner we went and checked into our hostel. The place was nothing special, but we knew we’d only be there until sunrise.
Day 2 – Torres Del Paine & Puerto Natales
The next morning you’re going to want to wake up very early and immediately hit the road towards Chile.


Important Note: Take the Highway 5 to Esperanza on the freshly paved highway, and turn back to take the Highway 7 back towards the second half of the Highway 40 and make a left on to it, which becomes paved. DO NOT go straight ahead because it is once again a gravel road. Google Maps will say that the Highway 40 is 1 hour faster. This is not true unless you’re in an off-road vehicle! It will take you over 2 hours to drive down this small stretch of highway because of all the gravel, rocks, and potholes, with your average speed being around 10 km/h. You will also see very few other cars on down this hell-ride, which could make it very dangerous if something happens to you. Once you get back onto Highway 7, there will be a point where you can continue left on to the Highway 40. Do this, because it becomes a paved road.
After you pass through immigration, the Chilean side of the border is beautifully and freshly paved. It should be very quick and easy to get our documents stamped. There is fortunately wi-fi in the Chilean passport office because there is no data whatsoever on the way to and in Torres Del Paine. Torres Del Paine National Park allows you to enter for 3 days for the price of one entry fee(roughly $35USD), which is much more affordable than the overpriced 1 day visit to Perrito Moreno, so it’s definitely a good idea to pass through the park for a couple of smaller hikes before heading down to Puerto Natales.


Mirador Salto Grande


Mirador Cuernos


This was a very easy hike, but it was insanely windy when we went. In the summertime the weather is warmest but the wind can be extreme, so be careful. After this you can hop back in the car and head down to Puerto Natales, unless you plan on staying in the park, which would be more expensive but save you the 4 hour round-trip drive to Puerto Natales. Puerto Natales is a small, quaint town located in the southern Patagonian region of Chile. The city has a population of approximately 20,000 people and serves as the gateway to the national park. The city is renowned for it’s local seafood cuisine and it’s museums and cultural attractions, including the Municipal Historical Museum and the Nao Victoria Museum. Stock up on snacks and water before you go to bed because the shops in the town don’t open until later than you’re going to want to wake up and leave the next morning.
Important Note: If you’re coming directly from Buenos Aires, or elsewhere in Argentina, then the prices of Chile may come as a shock to you. Puerto Natales is very expensive. So if you’re coming from Calafate and have a vehicle, then it may not be a bad idea to stock up on snacks and water before leaving.
Day 3 – Torres Del Paine
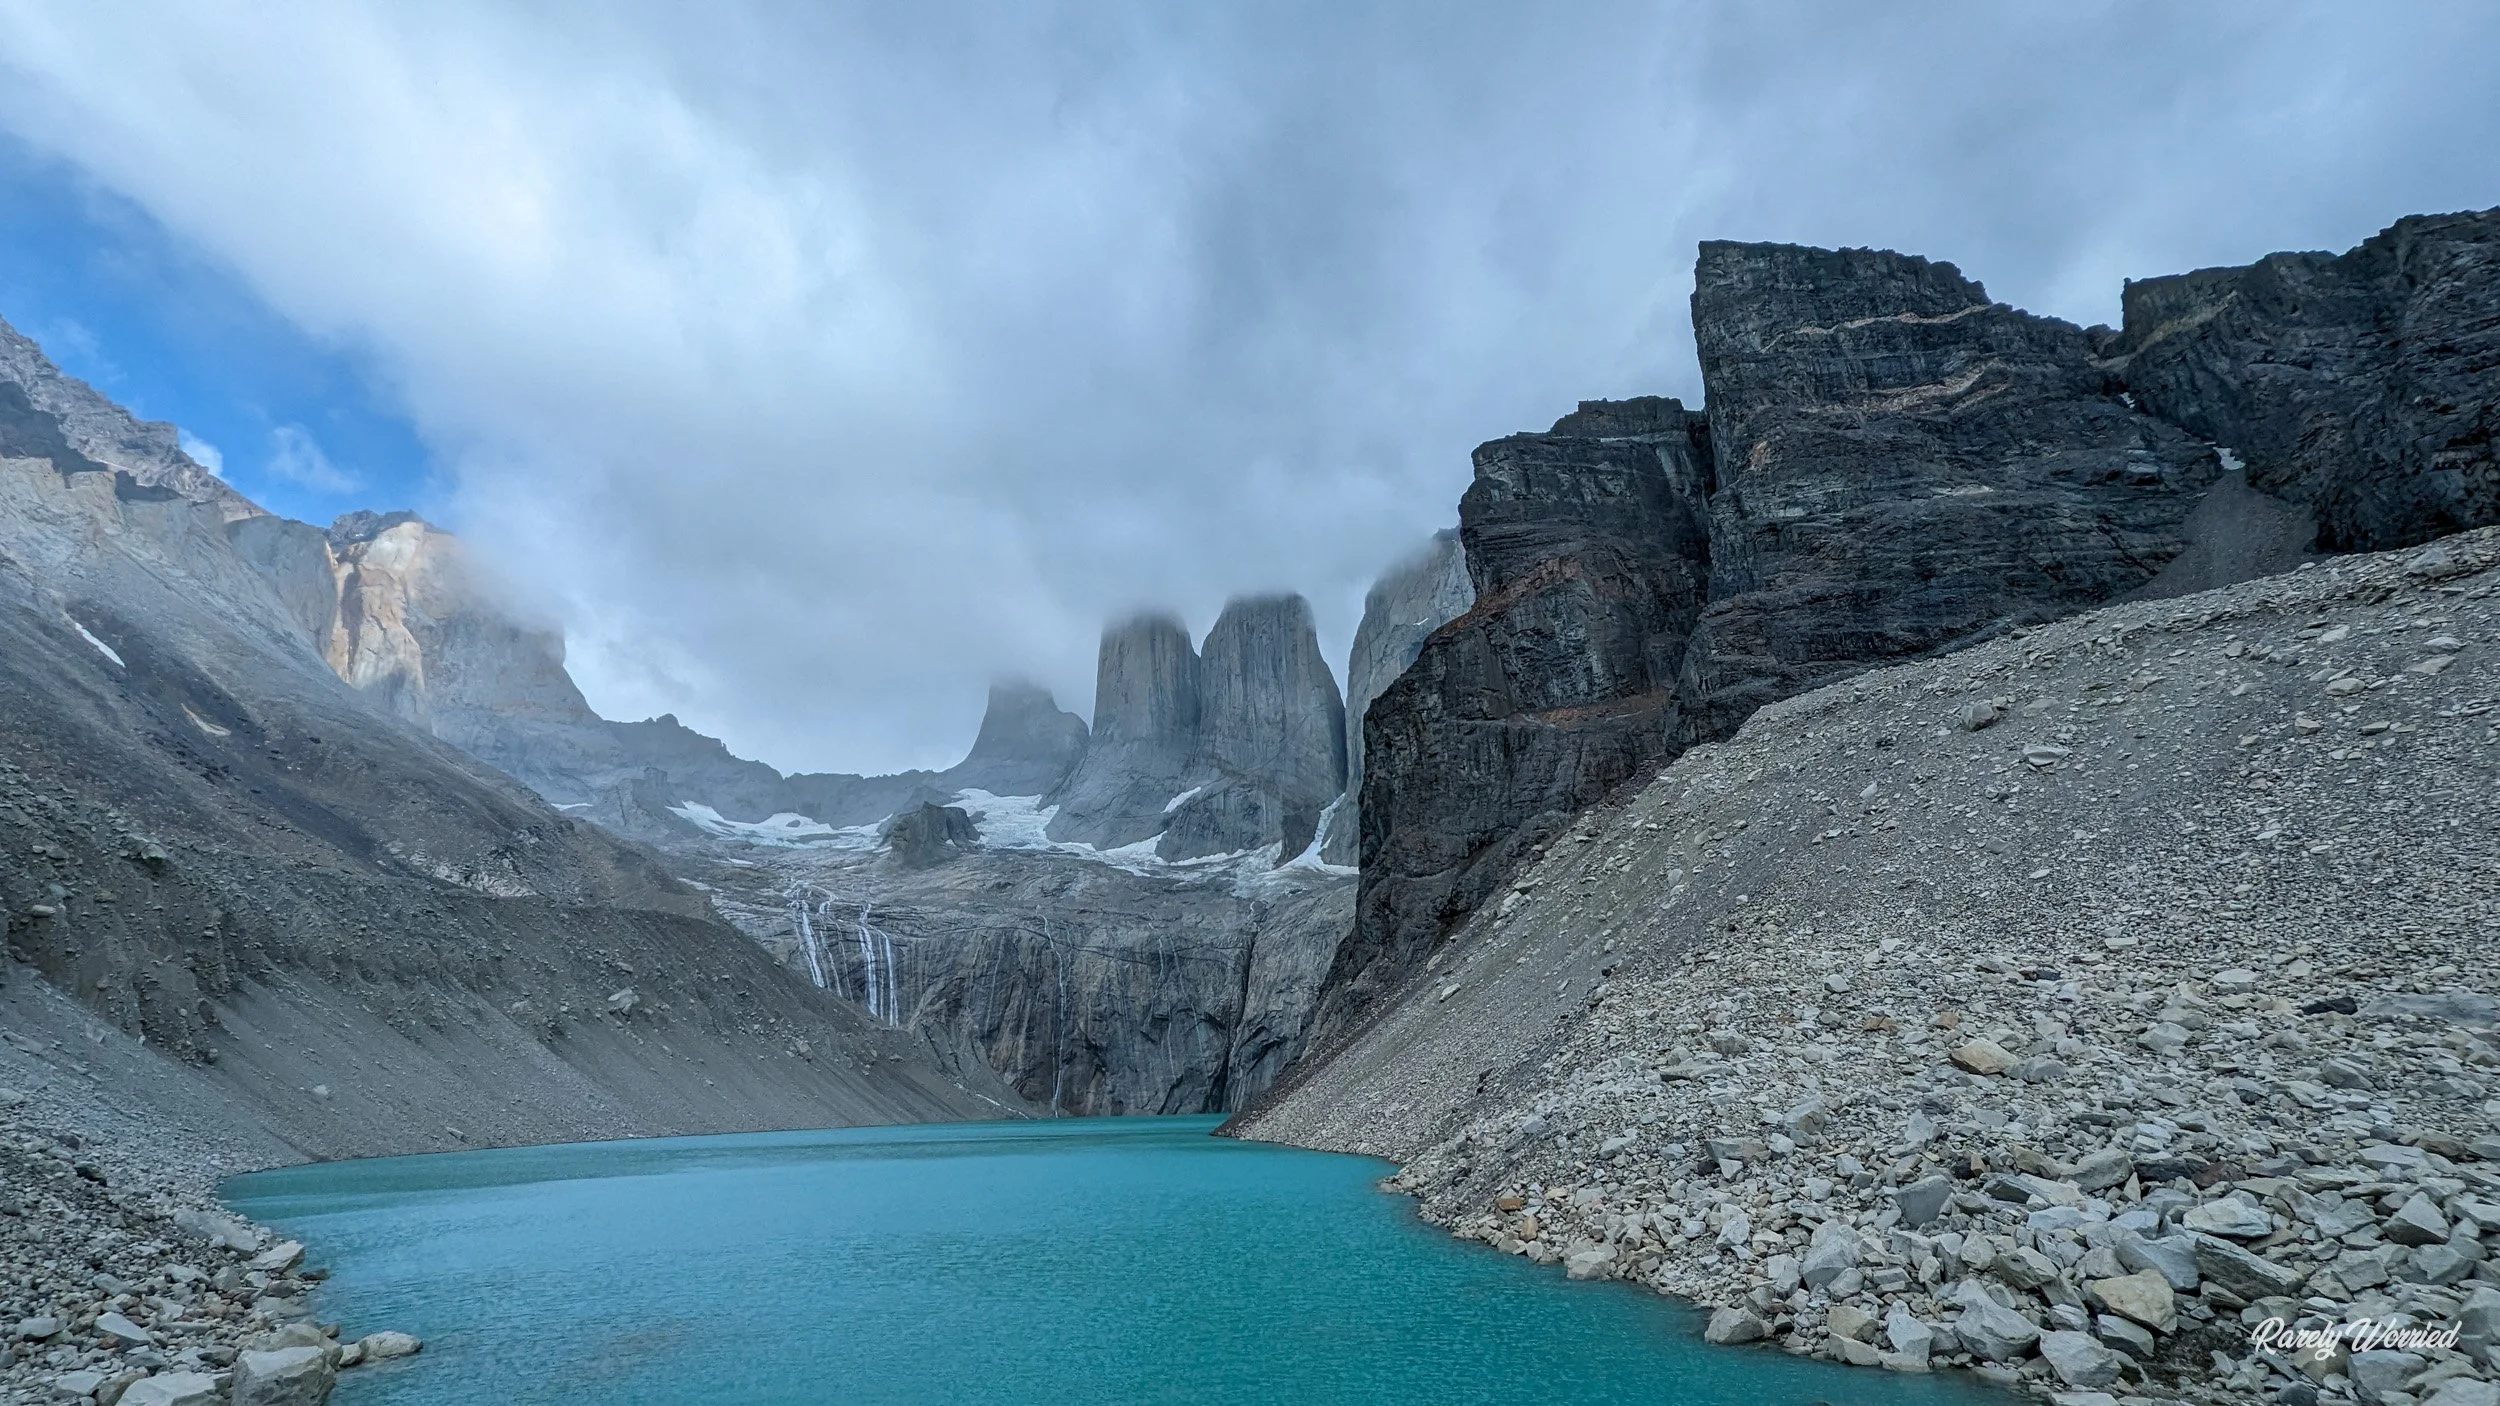
Mirador Torres


You’re going to want to wake up as early as possible and hit the road. It is about a 2 hour drive from Puerto Natales back to Torres Del Paine. You want to make sure that you get there early because the parking lot can fill up, and the trail gets very busy. You also don’t know what to expect in terms of difficulty and don’t want to spend the whole day rushing. The trail is incredible and is easy-moderate until the last half hour where the incline gets steep, but this was not nearly as difficult as other reviews have stated and you’ll find many children and elderly hiking, with and without poles.


If you want to explore more of Torres Del Paine, there are other tours you can do and the park has hundreds of trails included in the map below and I’ve outlined two other popular day hikes.
Mirador Grey
This popular day hike takes hikers to the base of the Grey Glacier. The trail is around 11 km round-trip and takes around 4-6 hours to complete. The views of the glacier and the surrounding mountains are breathtaking.
Valle Frances
This day hike takes hikers through the stunning French Valley, with views of the surrounding peaks and glaciers. The trail is around 21 km round-trip and takes around 7-9 hours to complete.
After this, you have three choices.
-
Spend the night in the park at one of the refugios, campsites, or hotels.
-
Drive the two hours back to Puerto Natales
-
Drive back to El Calafate
For this itinerary, we’re going to imagine you drive back to El Calafate.
Spend the night in El Calafate and sleep in after the day you had.
Day 4 – El Chalten
The next day you’re going to want to take it easy after the 6-8 hour hike and long drive from the day before. After you checkout from your accommodations and have breakfast/lunch, you can take the 2.5 hour drive to El Chalten. The bus from El Calafate to El Chalten is relatively cheap and under 3 hours. Most of the busses operate in the afternoon or evening with Marga Taqsa seemingly being the cheapest. El Chalten is a charming town located at the base of the Fitz Roy mountain range. You can spend the day enjoying the town and recovering from the day before unless you’re audacious enough to do another one of the smaller hikes or viewpoints.
LOS CÓNDORES
Los Condores viewpoint is located on a hill just outside of El Chaltén, about a 30-40 minute hike from the town center. The trail is well-marked and easy to follow, and the hike is relatively easy. Once you reach the top of the hill, you’ll be rewarded with a breathtaking view of the valley below, with the Fitz Roy mountain range in the distance. The viewpoint is named after the Andean condors, which are often seen soaring through the valley.
LAS ÁGUILAS VIEWPOINTS
Las Aguilas viewpoint is located further up the same hill as Los Condores, and the trail branches off about halfway up. The hike to Las Aguilas is slightly more difficult than the hike to Los Condores, with steeper inclines and more rugged terrain. However, the view from the top is even more stunning, with a panoramic view of the Fitz Roy mountain range, the Rio de las Vueltas valley, and the surrounding peaks and glaciers. The viewpoint is named after the eagles that are sometimes seen in the area.
Day 5 – El Chalten
Cerro Torre Viewpoint
Take a half-day hike to the Cerro Torre viewpoint, which offers stunning views of Cerro Torre and the surrounding mountains. The trail is around 9 km round-trip and takes around 3-4 hours to complete.
Day 6 – El Chalten
Today you’ll be given a choice between two hikes because you’re on such a short schedule. The final destination of both hikes is Laguna de Los Tres, but from different angles. So it depends on your skill level what you’d prefer to do and how tired you are from the day before.
Fitz Roy Trek
Spend the day hiking to Fitz Roy, another iconic peak in the area. The trail is around 26 km round-trip and takes around 8-10 hours to complete. The final destination is Laguna de los Tres
Laguna De Los Tres
Take a full-day hike to Laguna de los Tres, one of the most popular hikes in El Chaltén. The trail is around 20 km round-trip and takes between 7-9 hours to complete. The reward is a stunning view of Mount Fitz Roy and the surrounding glaciers.
Day 7 – Last Day
Take advantage of your last day and depending on what time your flight is enjoy your last day before driving back to El Calafate Airport.